Introduction
The interface allows a fine management of PHP versions, extensions and options.
Documentation
Documentation on PHP can be found on the Web, in particular at: https://www.php.net/manual/en/.
Prerequisites
Go to https://mg.n0c.com/en/.
How to Modify the PHP Version of the Account
Many PHP versions are at your disposal through the N0C platform:
| PHP 4.4 | PHP 5.1 | PHP 5.2 |
| PHP 5.3 | PHP 5.4 | PHP 5.5 |
| PHP 5.6 | PHP 7.0 | PHP 7.1 |
| PHP 7.2 | PHP 7.3 | PHP 7.4 |
| PHP 8.0 | PHP 8.1 | PHP 8.2 |
| PHP 8.3 | PHP 8.4 |
You can choose the one that suits your needs for an entire N0C account at any time (if you want a single PHP version per site, you must create an N0C account for each of your sites).
- In the Sidebar menu, select Languages > PHP.
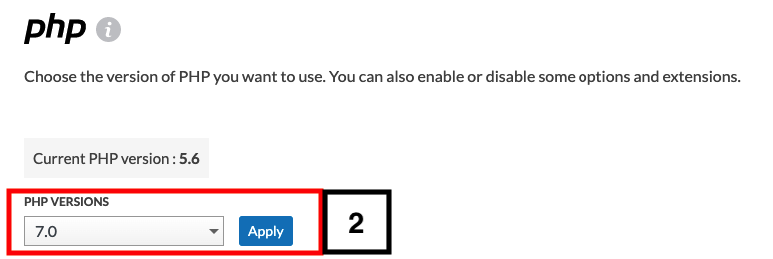
- Select the desired version from the PHP VERSIONS drop-down list and click on the Apply button:
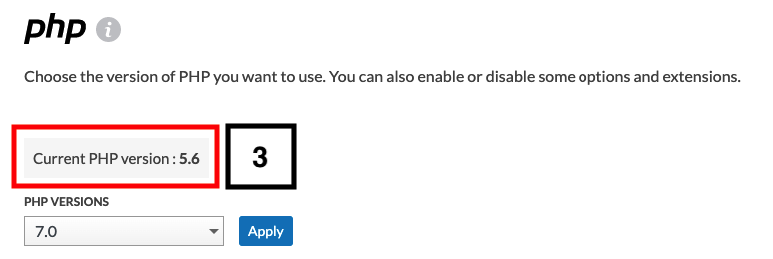
- Confirm that the current PHP Version is consistent with the change made:
How to Enable or Disable the PHP Extensions
Most of the time, the default extensions selected are suitable for most of the needs. However, you can activate only the PHP extensions that are useful for you. This ensures that you can manage the whole of PHP in a fine-tuned way.
- Click on the Extensions PHP tab:
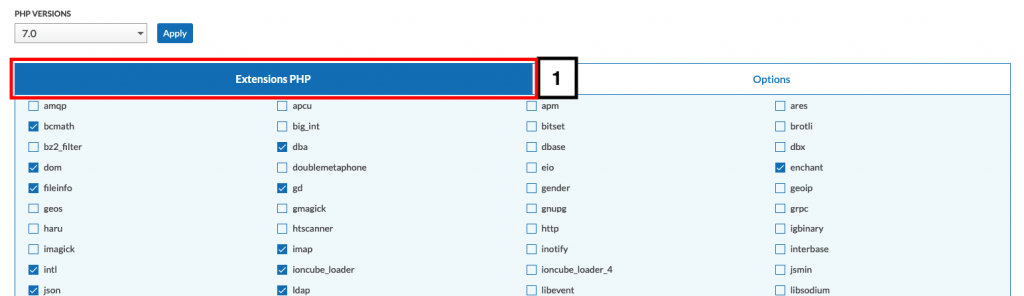
- Check (enable) or uncheck (disable) the extensions according to your needs:

- Click on the Save button to save your changes.
- Click the Reset button to return to the default PHP extensions, in which case a confirmation message will be displayed:

How to Modify the PHP Options
It is possible to change the values of the different PHP parameters such as “memory_limit” and “display_errors“.
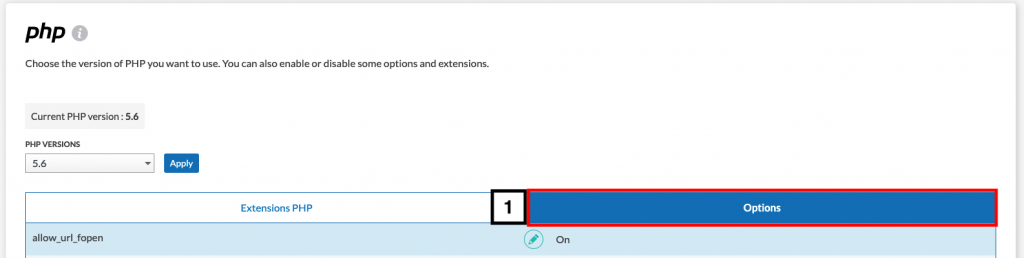
- Click on the Options tab:
- Click on the Edit icon:
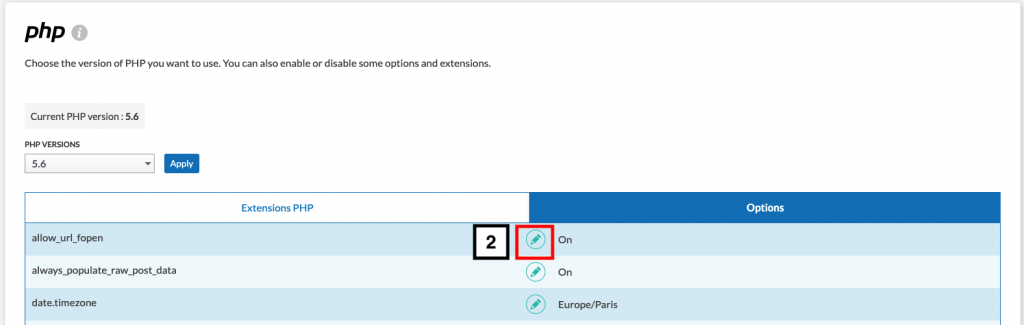
- Enter the desired value (or select the desired option) and validate by clicking on the green hook icon (the red icon is used to cancel the operation):

- Click on the Save button:

- Click on the Reset button to return to the default options, in which case a confirmation message will be displayed.