Overview
WordPress is a free open-source CMS (configuration management system). It allows everyone to easily publish websites and blogs on the Internet.
The purpose of this article is to describe how you can install and configure WordPress with N0C.
Prerequisite
Go to https://mg.n0c.com/en/.
How to Create a Website
- In N0C, go to CMS / Applications -> N0C WP.
- Click on the Create button to open the Create WordPress App window:


- In the ADMIN USERNAME field, define the website administrator’s username.
- Enter a PASSWORD.
- In the SITE LANGUAGE drop-down list, determine whether your site will be in French or in English.
- Choose the DOMAIN NAME in the drop-down list.
- In the PATH (optional) field, enter the name of the repository where your sites’s files must be kept.
- In the BLOG TITLE field, specify the name of your web site.
- In the ADMIN EMAIL field, enter the administrator’s e-mail.
- Make sure to check Use HTTPS if you want your site to be secured (this is recommended).
- Make sure the Include WWW in URL box is checked if needed.
- Should you decide to SHOW ADVANCED SETTINGS, please refer to the paragraph Advanced Settings.
- Click on the CREATE button when you are ready to create your WordPress website.
- Confirm that your website is listed under My WordPress Websites (the WordPress administrator should also send you a confirmation message by e-mail):

- If recent changes are not being reflected, please click on the Refresh button to update the list of WordPress installations. This clears the cache to display the latest and most up-to-date information:

- Click on the Log in icon to go to the WordPress administration:

Advanced Settings
When creating a WordPress application, it is possible to choose an existing database to support it, change the prefix of its tables and define a user.
- Make sure that a database1, preferably empty, has been created, as well as a user for it.
- Please refer to the article How to Manage MySQL Databases or to the article How to Manage PostgreSQL Databases, as appropriate.
- In the Create a WordPress application window, check the Show advanced settings (optional) box:
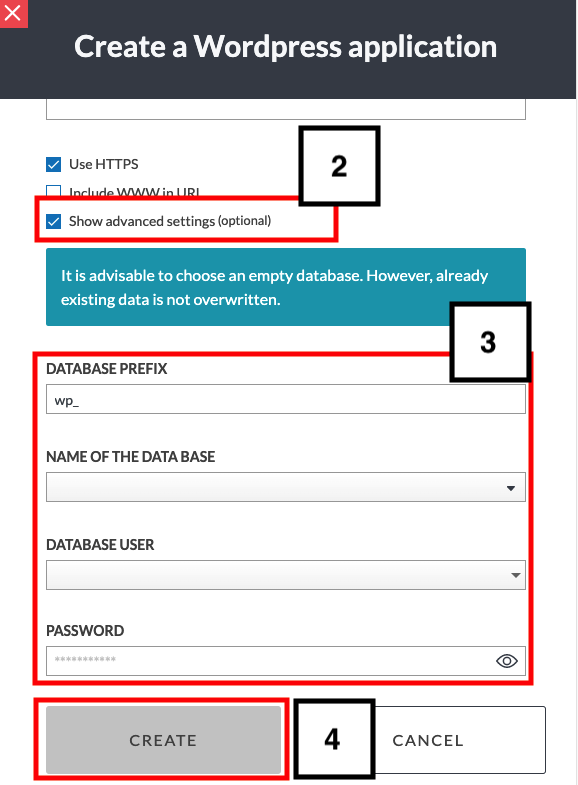
- Fill-in the information:
- Define the DATABASE PREFIX. This prefix will be given to all tables.
- With the NAME OF THE DATA BASE drop-down list, choose the database that will be used to build your WordPress application.
- With the DATABASE USER drop-down list, choose the user of the database.
- Fill in the PASSWORD field.
- Click on the CREATE button when you are ready to create your WordPress site.
Website Overview in N0C
- Click on the Details button under My WordPress websites next to the website you wish to view:

- This gives access to the Overview window:

Where:
| Term | Description |
| URL | Website address on the Internet. |
| DATABASE | Database name (accessible with PhpMyAdmin). |
| VERSION | The version of WordPress that is used. |
| USER | User linked to the database. |
| PATH | Path to access the files in the File Manager. |
| ACTIONS | Connexion icon for connecting to the website or Delete icon (trash can) to delete the website. |
Plugins
A plugin is a set of folders that add new functions to WordPress.
Users default plugins are available. Users can also download plugins from the Web.
How to Activate, Disable and Delete Default Plugins
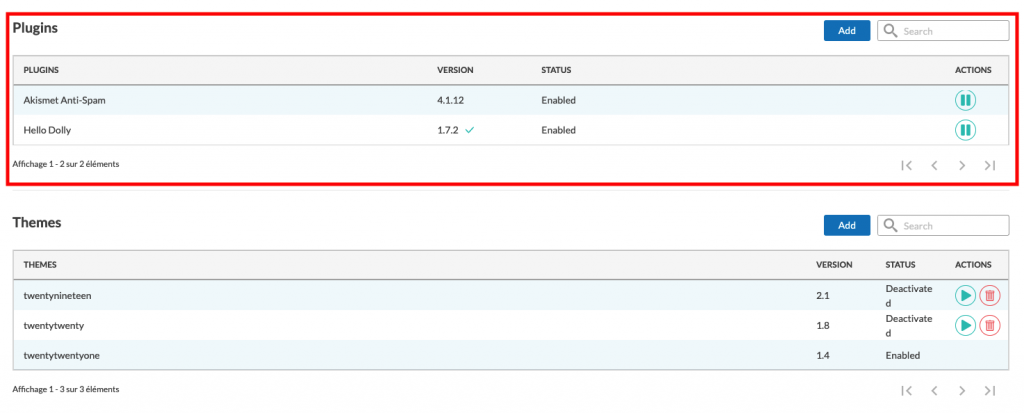
- The plugins available by default are displayed in the Plugins view:
- Among the default plugins, click on the Activate or Disable icon, as desired, and the STATUS will be displayed accordingly:

- Click on the Delete icon (trash can) if you do not intend to use a plugin.
How to Add Plugins
- Click on the Add button:

- Click on FEATURED to display recommended plugins:

- Click on Install or Visit website on the plugin you are interested in.
- If the plugin you want is not displayed, click on the SEARCH RESULTS tab:

- Search for the desired plugin in the Search Plugin field and press the Enter key on your keyboard to display the results.
- Click on Install or Visit website for the selected plugin.
Themes
A theme — also called a template — is a ready-to-use website.
This helps separate editorial content from formatting. Only certain elements are editable, such as colors, images, etc.
How to Activate or to Delete a Theme
- The themes that are available by default are displayed in the Themes section:
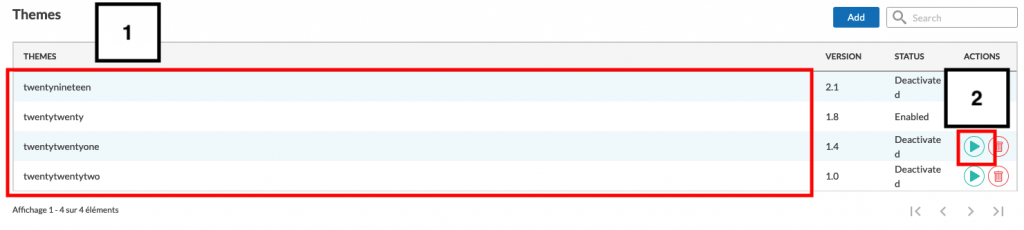
- Click on the Activate icon next to the theme you wish to use and the STATUS will be displayed accordingly.
- Click on the Delete icon (trash can) if you want to delete a theme.
How to Add Themes
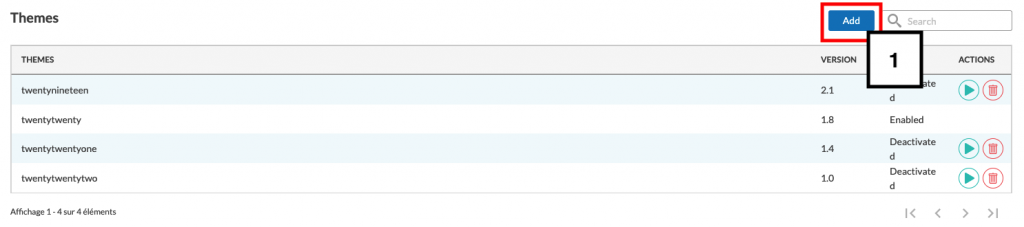
- Click on the Add button:
- Search for a theme in the Search a theme field and press the Enter key on your keyboard:

- Click on the Install button of the theme you wish to install.
Users
The interface also allows you to manage users and to assign their roles.
How to Modify Users’ Attributes and Roles
- Users are listed:

- Click on the Edit icon next to the user you wish to edit.
- Modify if needed the following information about the user:
- The PASSWORD.
- The EMAIL.
- The ROLE.

- Click on the SAVE button.
How to Add Users to a Site
You can add as many users as you want to your website.
- Click on the Create button:

- Complete the information in the Add User window:
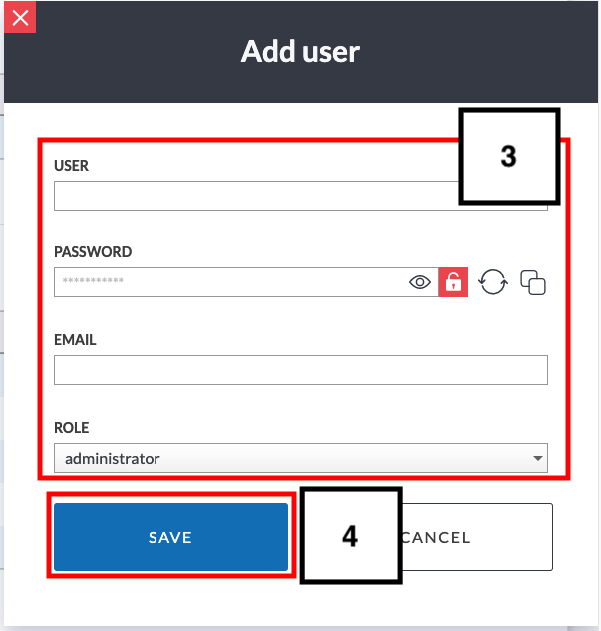
- Provide the following information about the user:
- The USER name.
- The PASSWORD.
- The EMAIL.
- The ROLE.
- Click on the SAVE button.
How to Delete Users
You can revoke a user’s access to your website anytime.
- Click on the Delete icon next to the user:

- Confirm the deletion.
Roles and Privileges
Managing a website requires each user to have a specific role with associated privileges that allow them to perform their designated tasks.
How to Modify Roles and Privileges
- To modify the privileges for a role, click on the Edit icon next to it:

- In the Change role [Role Name] window, select or deselect the desired privileges:
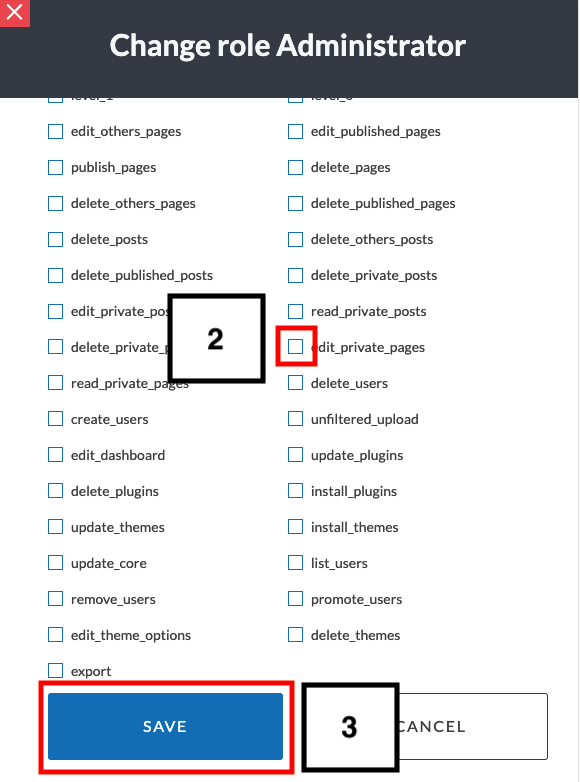
- Click on the SAVE button.
How to Add Roles
You can add new roles to your website and define their privileges.
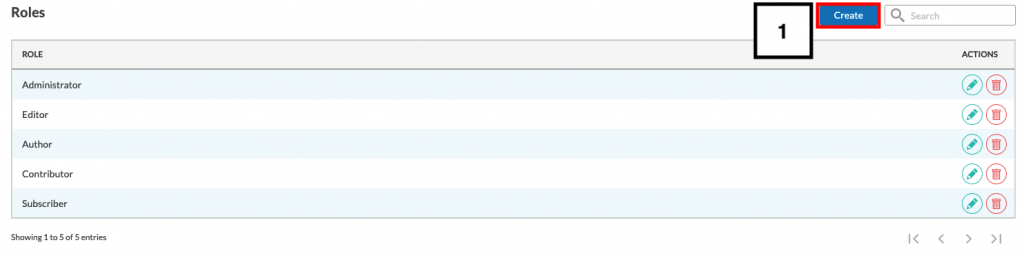
- Click on the Create button:
- Give a name to your new ROLE:
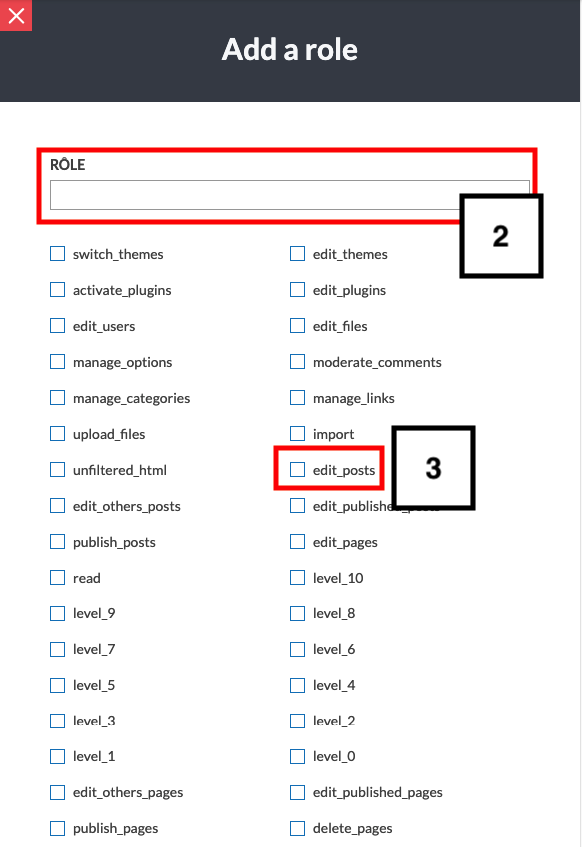
- Choose the privileges of the role by selecting the desired options.
- Click on the SAVE button.
How to Delete a Role
- Click on the Delete icon next to the role you wish to delete:
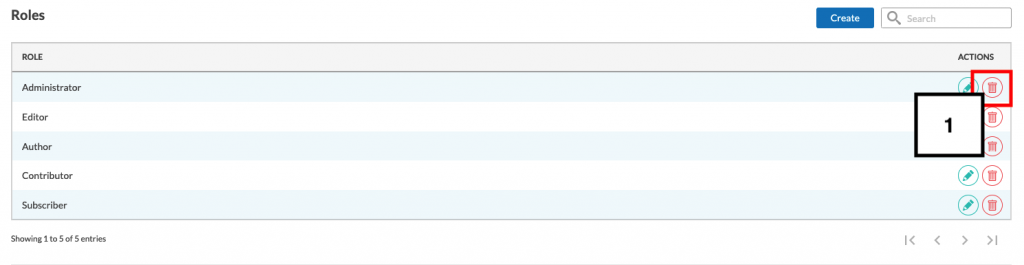
- Confirm the deletion.
1 The existing data remain even if the chosen database is not empty.