Here we explain the basic configuration of your online store. This step, which follows installation, is absolutely essential. As an administrator, you will get the most out of Prestashop, a complete, innovative and efficient solution for creating an online store and developing a business.
You can avoid unnecessary trial and error if you read the article in the order in which it is presented.
- Preparation. A quick preliminary check should be made right from the start. By entering the URL your customers will use when you deploy your online business, you will confirm that the Prestashop installation has gone smoothly.
- Access to the Prestashop Dashboard. To assist the administrator, Softaculous used to send an e-mail containing various information. Now that this practice has been discontinued, you will need to rigorously carry out the operations described here to configure your Prestashop. In particular, the behavior of the admin file on first connection deserves special attention.
- Changing the dashboard language. Here you will learn how to configure the dashboard in English (if required, as it is in English by default).
- Designing the online store. We will confine ourselves to the essentials, since there is plenty of documentation on the Web.
Preparation
- Enter the following address in your web browser: https://mg.n0c.com/en/.
- Make sure your PrestaShop CMS has been installed (please refer to the article How to Install a CMS).
- Have your login details, generated when your CMS was installed, ready:
- ADMIN EMAIL;
- ADMIN USERNAME; and
- PASSWORD.
Preliminary Verification
It is a good idea to first confirm that the framework of your online store is actually deployed on the Web:

- You should then open your online store canvas, which looks something like this:

- Log in by clicking on the Log in button (Connexion on the French interface) and entering your login details (ADMIN EMAIL corresponds to the E-mail field):

- Make sure you see a similar interface:

- The test is complete: you are ready to access the Prestashop dashboard.
Access to Prestashop Dashboard
From the outset, please note that certain words in this context have a very specific meaning, since they refer to the contents of this window, which you used when you installed your Prestashop:

Therefore :
- the PROTOCOL (secure or not) is set by default when you enter your domain in your web browser;
- your Prestashop domain name is called DOMAIN;
- the DIRECTORY, which lets you know where your CMS files are stored in the file manager;
- the SITE NAME, as it appears on the Web;
- the login credentials, for the record, are ADMIN EMAIL, ADMIN USERNAME and PASSWORD.
First Access
We will call admin URL the character string the administrator must enter in his web browser to access his online store for the first time in edit mode:
PROTOCOLDOMAIN/admin
Note that the word admin must be used after the slash.
For example, admin URL could be :
https://myshop.ca/admin
This window will then appear:
We will come back to this later.
Change admin folder name after first access
When you install PrestaShop CMS with N0C, the Local directory of your File Manager contains a folder called admin (How to use the File Manager):

Suppose you want to access this dialog box again after the very first connection:
Something extremely important is happening here.
Remember that the first time you try to access the admin URL, you simply add /admin after the DOMAIN.
What few people realize is that this automatically renames the admin folder to a random name!
You will need to consult the File Manager to find the new folder name:

Then you need to put it in the admin URL to log in to editing. In the example shown here, the admin URL would become :
https://myshop.ca/admin866xhkncugtinbzs6up
The new administration folder name can be renamed as required. For example, it could be called “administrator”.
So, in this example, admin URL would be PROTOCOLDOMAIN/administrator:
https://myshop.ca/administrator
Thereafter, each time you log on in edit mode, the new admin URL will be used systematically. In other words, in our example, administrator would remain permanent (unless you decide to change it in the file manager).
Domain Name Change
The DOMAIN name can be changed in the FTP at the root of the PrestaShop installation.
Connection to Prestashop Dashboard
Now that you have familiarized yourself with the conventions and precautions to be taken, you can design your online store and edit it as often as you like before deploying it in production.
- Enter the full address of the admin URL in your web browser, as explained above:
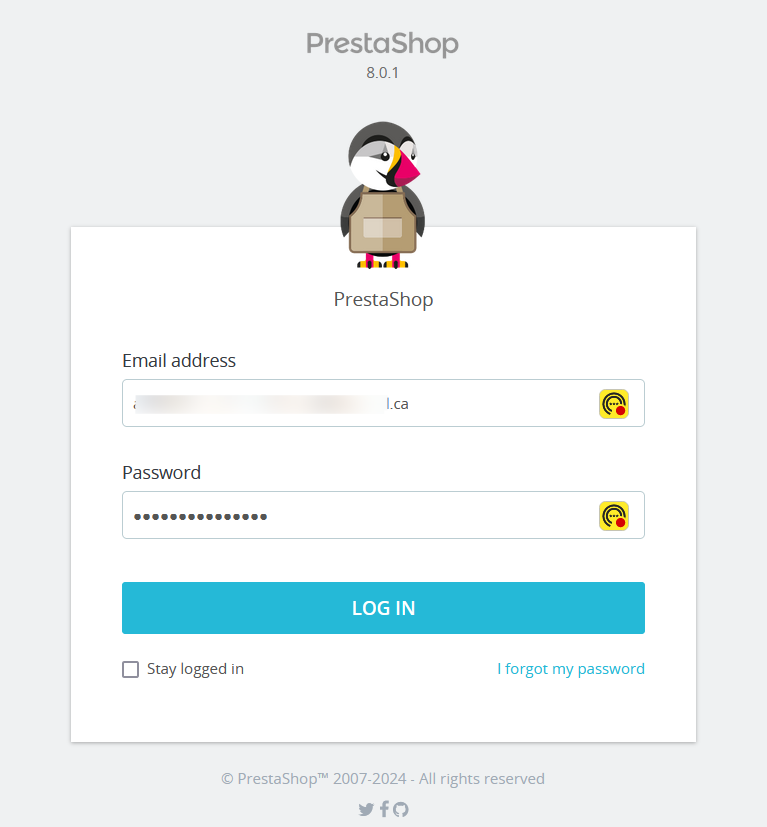
- Enter the ADMIN EMAIL and the PASSWORD for your login details in the Email address and Password fields respectively:
- Click on the LOG IN button.
- Confirm the Dashboard is displayed:

Changing the Dashboard Language
Here is how to configure the dashboard in English:
- In Dashboard, choose International -> Translations.
- Select your language from the Select your language drop-down list – in this case, English.
- Click on the Add or update a language button.
- Click on the administrator icon, top right.
- Click on the Your profile button.
- In the Edit: window, select your language – in this case, English – from the Language drop-down list.
- Click on the Save button.
- The dashboard should now appear in English.
Designing the Online Store
If you have completed the previous steps, the stage is set for designing the store according to your needs: photographs, banners, etc.
The dashboard interface is very intuitive. Under Customize, you can adjust the interface to your liking. The Catalog lets you list the products you sell. You will soon realize that Prestashop is extraordinarily flexible when it comes to selling your products online.
To guide you in your task, you can download the PrestaShop user guide by clicking on this link: https://addons.prestashop.com/en/374-user-guide.