Introduction
N0C provides access a site builder software having the advantage of allowing you to design websites easily.
In the following lines, we will explain a step-by-step method to achieve this goal. We will start with the instructions that are absolutely necessary for the initial set up of your site. We will explain how to opent the interface to create a site, set the language, choose a theme (template), and add the pages and layout. Then, indications on how to save, preview or publish your site will be provided. We will also explain how to create other sites and switch from one site to another.
Afterwards, we will describe the various tools available to you to maintain your websites. Although there is no precise order in the presentation of the articles, a certain logic will justify that the reader consults them in order.
We will limit ourselves to information for beginner level users.
Prerequisites
Make sure you have a Gmail account.
Go to https://mg.n0c.com/en/.
Step 1 – Open the Interface
- Choose Site Builder.
- The interface opens.
- Note the Sidebar menu displayed on the left :
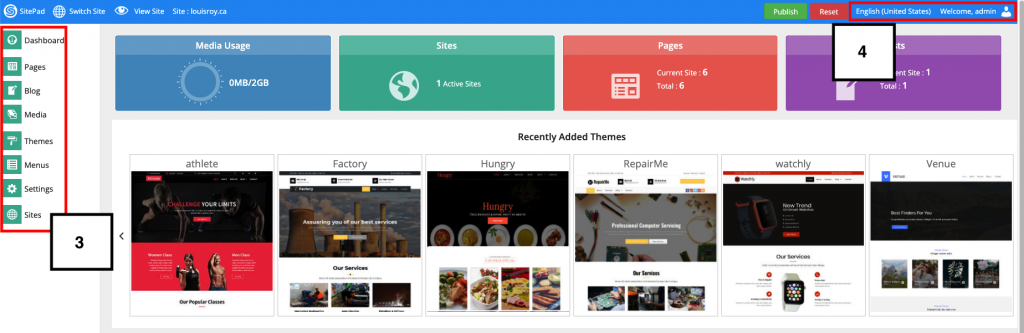
- Note the Notification area, sometimes called the Navigation bar, at the top right.
Step 2 – Set-Up the Language
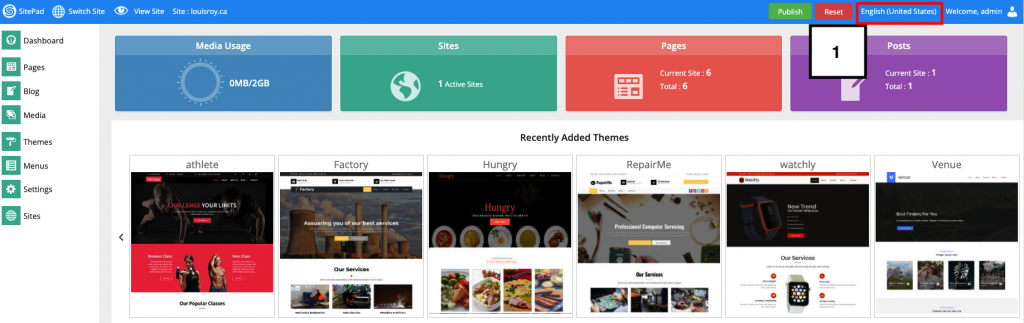
Make sure that the English Canada or English language is chosen, as it is used in this article.
- You can easily choose the language from the Notification area bar by hovering your cursor over the blue part (just to the left of your username):
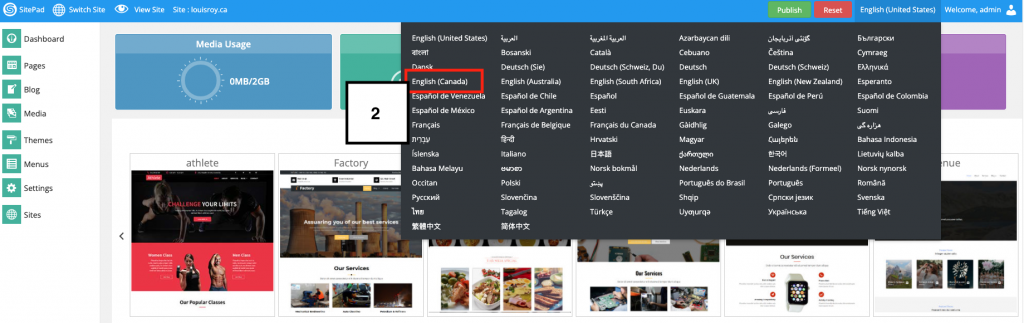
- Click on the language of your choice for the interface in the menu showing all available languages:
Step 3 – Deactivate the Wizard
The wizard is a tool that helps you navigate through the editor. When you log in to for the first time, the wizard is enabled by default. We will disable it to further understand this article.
To do so, simply click on the “X”.
Step 4 – Choose a Theme (Template)
A theme allows you to manage your entire site very easily. However, there is one condition: you must aim to plan the structure well from the start and have a minimum of knowledge of the tool.
Therefore, before anything else, we will choose the desired theme for your website.
- You can click on the Themes button in the left pane or choose a theme from the quick preview area of the home screen; you will then be redirected to the theme manager, which will let you choose one for your website.
- You can also use the Search function to search for a theme whose name, category or tag contains the keyword(s) you are looking for.
- You can view more information about a given theme by clicking on the Theme Details button, which appears when you hover your cursor over the picture of the theme.
- When you have found a suitable theme, you must then activate the page editor by clicking on the green Activate button.
- Now that your theme is activated, you can preview it in another page by clicking on the Preview button in the notification area, in the upper right corner.
- After previewing the theme, return to the page editor and click on the Close button.
Step 5 – Add Pages and do Their Layout
The theme having been chosen, we are at a crucial stage in setting up your website: the addition of your pages and their layout.
- In the sidebar menu, click on Pages.
- Note that, by default, the tool offers you a header and a footer.
Header
The header is the top part of the website.
The header brings together all the information that may be found on your website. It is the element that will allow your visitors to navigate your website: its design is crucial for them to find their way around.
Footer
The footer designates the lower part of the website.
The links and contents present in the footer typically address visitors, but also and especially search engines.
In the first case, the contents and links contained in the footer generally point to content or information that is secondary or of interest only to a small part of the visitors, and which therefore have no place in the header or in the main navigation menus.
Adding a New Page
- In the sidebar menu, click on Add New.
- The page editor is then activated:

- The new pages and their titles are both named New Page. The URL of the page is also proposed by default. You can change this as you wish at the top of the page editor, using the predefined fields.
Modifying Existing Pages
- In the sidebar menu, click on All pages.
- You have access to some icon-based options, such as Edit this item, Move this item to the trash, Clone this Page, and so on.
- Select Edit this item (pencil icon).
- The page editor is then activated.
Using the Page Editor
- The Page Editor offers you the ability to drag and drop items from the Object Bar, where you can find several items, such as inserting a text paragraph, inserting a video, etc.

- When an item is dragged to a particular location, the Action Bar appears with all the options for the item that has just been dragged; some items also provide an advanced options menu to configure all the required settings.
- When you are working on an object, you can also copy it to another place in your site or delete it by clicking the Duplicate Object or Delete Object buttons at the top of the menu bar.
You have over 40 objects at your disposal to customize your pages.
Step 6 – Add a Personalized Title and Tagline to your Site
- Once you have logged, click on the Settings option on the left pane and click on General. The General Settings page will be displayed:

- In the General Settings page, you will see various options: Site Title, Tagline, Date Format, Timezone, Time Format, etc. Enter the Site Title and Tagline in the respective fields.
- Click on the Save Changes button.
Step 7 – Save, Preview and Publish your Site
Once the layout is complete, you can either publish the website directly, or simply update it to save the work in progress.
Before continuing, it should be noted that there are three buttons that will always be useful during the design of your website. They are located in the upper right corner:

- Click on the Publish button to publish the changes when you are ready.
- You can save the version you are creating without publishing it by clicking on the Update button.
- You can preview the changes you make without saving or publishing them by clicking on the Preview button.
Thus, to publish your website:
- Make sure the page editor is open.
- When you click on the Publish button, a confirmation window opens.
- Check the box confirming that you are sure you want to publish the site.
- Click on the green Yes, Publish button and a progress bar will show you the publication process.
- When the publication is complete, you have the choice to click on the Done button or on Visit Website to view the published site.
Step 8 – Add an Additional Website and Change Websites
You can create as many websites as you want and switch easily from one to the other.
Adding an Additional Site
- Once you are connected, click on Sites in the left pane.
- Click on Add New, which gives access to the interface for adding websites.
- Fill in the fields: Site Name, Site Address (Domain and Directory if applicable), Site Title (this is the title that will be displayed on your Page when it is published), Site Language (if you wish to change it) and Admin Email (if desired).
- Click on the Add Site button.
- Once the website has been created, a success message asking you if you would like to visit or modify the site will appear.
Switching from One Site to Another
To switch from the current site to another site you wish to work on again:
- Hover your cursor over the Site button in the navigation bar. A drop-down menu with all the sites you have added will appear. Click on the site you want to work on.
- Click on Dashboard.